The Ultimate RV Inspection Checklist Before You Hit the Road

Which RV Battery Is Right for You? Here’s What to Know
September 1, 2025
Before you set out on your next adventure, give your RV a routine mobile RV inspection to avoid surprises on the road. Start by checking your tires for wear, pressure, and proper lug tightness. Test all exterior lights, including brake, turn signals, and headlights, to ensure safe travel. Inspect the roof, seals, and windows for leaks that could cause costly water damage. Don’t forget to examine your awnings, steps, and slide-outs for smooth operation.
Move inside and check your smoke and carbon monoxide detectors, fire extinguisher, and emergency exits. Test appliances like the fridge, stove, and water heater to confirm everything works properly. Flush your water system and confirm the tanks, fresh, gray, and black, are clean and functioning. Ensure your HVAC system, including the furnace and air conditioning, is reliable for any weather. A complete inspection today means peace of mind and a smooth journey tomorrow.
What RV inspection issues humans face?
Many RV owners hit the road without realizing minor inspection issues can lead to big headaches. One of the most common problems is tire trouble, low pressure, worn treads, or unnoticed cracks, which often cause blowouts. Electrical systems are another frequent challenge, with faulty wiring or weak batteries leading to power failures at the worst times. Leaks around the roof, windows, or seals sneak up on owners and can cause severe water damage if ignored.
Slide-outs and awnings also give travelers trouble when they jam or won’t operate smoothly. Inside the RV, people often discover appliances not cooling, heating, or running properly right when they need them most. Plumbing issues, such as clogged black tanks or malfunctioning pumps, can quickly ruin a trip. Safety equipment in an RV, such as smoke detectors, CO alarms, or fire extinguishers, is often overlooked and left non-functional. These inspection issues frustrate owners because they seem minor until they create significant delays or costly repairs.
What to do after RV water damage?
It can be daunting to find water damage in your RV, but swift action can avert larger issues. Always begin by pinpointing and halting the primary cause of the leak, inspecting the roof, windows, seals, or plumbing lines. Immediately dry the affected area using fans, dehumidifiers, or by opening windows if the weather permits. Remove wet materials like carpets, cushions, or insulation to avoid mold growth. Document the damage with photos if you plan to file an insurance claim.
Next, disinfect and clean all damp areas to prevent odors and bacteria from settling in. Scrutinize the structure, including walls and flooring, for any soft spots or warping. If you find severe structural damage, contact a professional for RV repairs before using the RV again. Reseal any cracks, roof seams, or window edges to prevent future leaks. Once the area is dry and secure, replace damaged flooring, insulation, or paneling to restore your RV’s comfort.
Finally, add regular inspections to your maintenance routine so you catch leaks early next time. For further protection, think about spending money on high-quality sealants and roof coatings. In addition to saving you money, taking quick action guarantees that your RV will remain dependable, safe, and prepared for your next journey.
Process for RV tire inspection
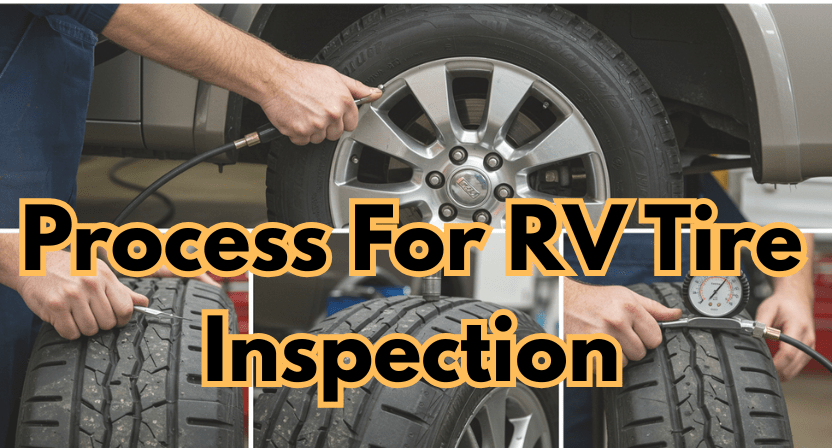
Inspecting your RV tires is a process you should never skip before a trip. Start by checking tire pressure with a reliable gauge and adjust it according to manufacturer recommendations. Look for uneven tread wear, cracks, or bulges that may signal hidden damage. Tighten lug nuts and make sure they’re secure to avoid dangerous loosening on the road. Don’t forget to inspect the spare tire as well.
Finish by confirming the tires are within their age limit—most should be replaced every six to seven years. A proper tire inspection ensures safety, better fuel efficiency, and peace of mind.
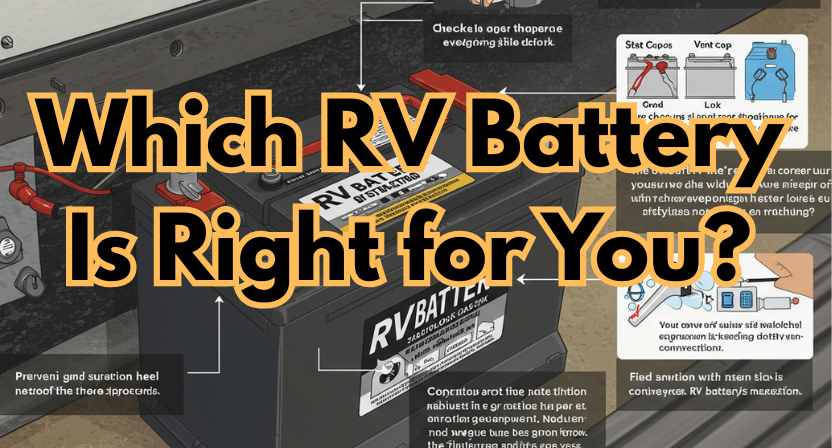
Guiding you about RV battery and charging system
Powering everything from lights to appliances, your RV battery and charging system are the central components of your trip. First, find out how old the battery is; most last between three and five years, depending on usage. Check the terminals for corrosion and, if necessary, clean them with a solution of baking soda and water. To avoid voltage dips, make sure all connections are tight and secure. To ensure the battery retains power properly, check its charge level with a multimeter.
Next, examine your RV’s charging system, which includes the converter, alternator, and any solar panels you may use. Make sure the converter is properly charging the battery when connected to shore power. If your setup includes solar, confirm the controller is regulating charge efficiently. Check the alternator’s performance by monitoring battery levels while driving. Always look for warning signs like dim lights or weak appliances, as they often point to charging issues.
Finally, top off water levels in lead-acid batteries when needed and only with distilled water. Store batteries fully charged during the off-season to extend their life. By giving attention to both your battery and charging system, you’ll avoid frustrating power failures and enjoy a smoother, worry-free adventure.
What To Do After an RV Electrical Inspection Failure?
Failing an RV electrical inspection doesn’t mean your travel plans are ruined; it’s a chance to fix issues before they become dangerous. Start by reviewing the inspection report and identifying exactly what failed, whether it’s faulty wiring, overloaded circuits, or worn-out outlets. Turn off the power and avoid using any system flagged as unsafe until repairs are made. If you’re not confident handling electrical work, call a certified RV technician or electrician for professional help. Safety equipment in an RV should always come first.
Next, replace damaged wires, upgrade outdated breakers, or install new outlets as needed. Double-check your battery connections and shore power cord for wear or corrosion. Arrange for a follow-up inspection when repairs are completed to make sure everything complies with safety regulations. For future upkeep and resale value, maintain a record of the repairs. By taking care of issues right away, you may prevent unforeseen electrical setbacks and keep your RV dependable, secure, and prepared for travel.
Conclusion
With this comprehensive checklist, you’re now equipped to ensure your RV is road-ready. Don’t skip a single step, from tires to electrical systems; a thorough inspection guarantees safety and peace of mind. So go on, check everything twice, and launch on your next adventure with confidence, knowing your home on wheels is in top condition.